Yay! You’re going on a cruise. You’ve packed your clothes and camera and now what? You need a plan – a plan for taking better pictures.
That’s right, no more boring slideshows or photo albums for you. This time it’s going to be different. How is that, you say? You’re going to discover the top 10 ways to capture great cruise photos, just by checking out the following tips:
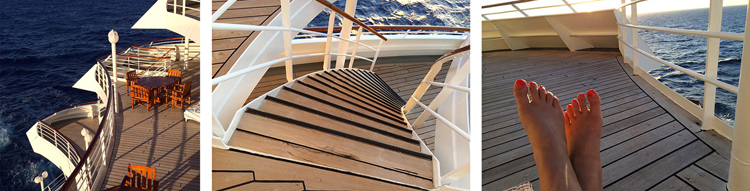
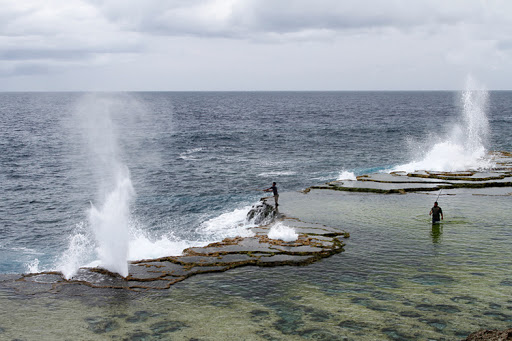
Tell a story
Pick a location and then capture a wide shot, a medium shot, and a close-up shot. When you place these images together they provide more information about your experience and visually capture the viewer's attention.
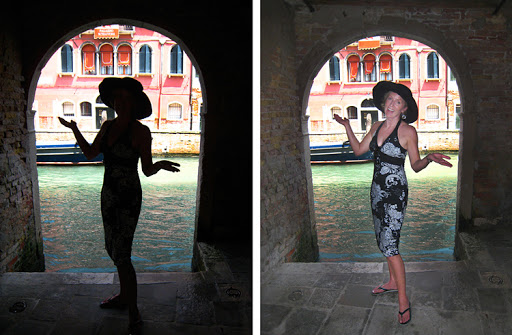
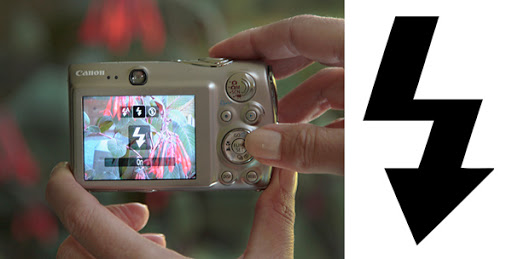
Fill it with flash
Are all your subjects in the dark? If you’re shooting in Automatic Flash and posing your subject with their back toward the light, it may result in a silhouette. If that’s the result you want, great! Otherwise, you can fix this exposure problem by using your camera’s Forced Flash setting to fill in the shadows and avoid a silhouette. Almost every digital camera has a setting for this, often marked by a lone lightning bolt (see the example below). Look for the Forced Flash option in your camera's settings or menu function.
Stay in the shade
Avoid the harsh light of the midday sun by placing people in a shaded area near direct sunlight — for example, an open doorway or under the shade of a building or tree.
Move the horizon
The rule of thirds can help you create more compelling photographs. Envision a tic-tac-toe board on your viewfinder and move your horizon line to the lower third or upper third of the frame.
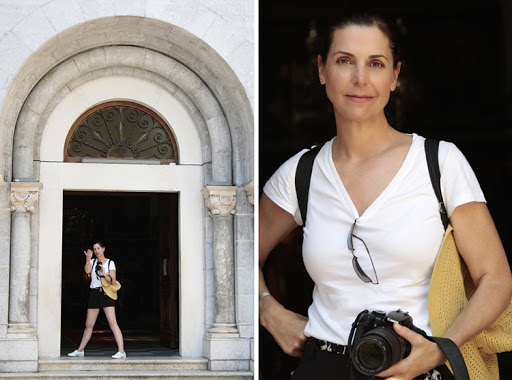
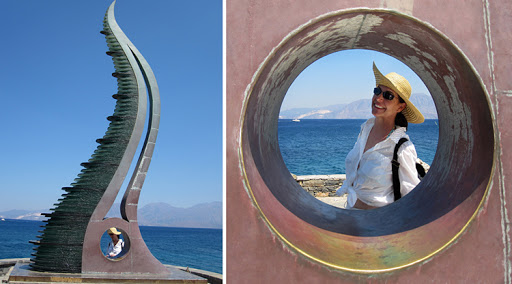
Frame the shot
Use a framing element to give your image context, depth, and lead the viewer’s eye toward your main focal point. A tree branch, doorways, archways, windows – any open shape that surrounds your subject in the foreground of your scene will work.
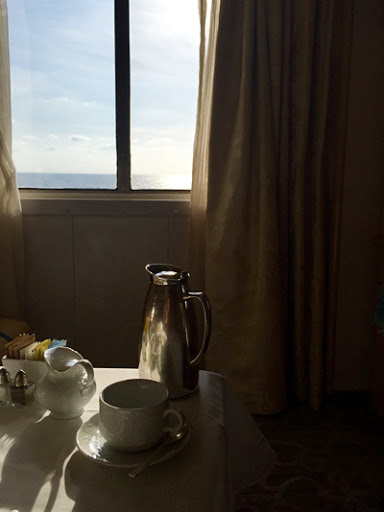
Look for the light
Be observant of the light and how it falls upon the objects in your scene. I ordered room service early one morning and noticed the sunlight softly gleaming through the windows and onto my coffee pot. It made for a quiet moment captured before a busy day at sea.
Use side light to create dimension
Plan a photo shoot in the early morning or late afternoon because the sun is low in the sky and creates dimension and form across the landscape, people, or objects in your scene.

Read the signs
Remember your location and capture the essence of a place by photographing interesting locations, local people, architectural details, and signs.

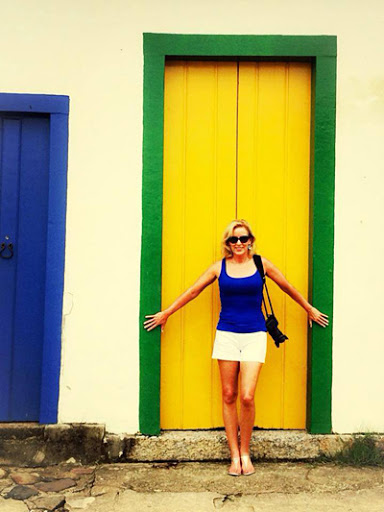
Get creative with color
Have some fun and look for colorful doors and walls to create a little extra zing in your photos. Complementary colors are opposite each other on the color wheel. When placed next to each other they create a strong contrast and visual interest.
Play with scale
Objects closer to camera appear larger than objects farther away. Introduce a little whimsy into your images by playing with the size of people, places, and objects in your images.

I hope these tips inspire you to capture your own vacation experience in a creative way. Now it’s your turn! Do you have any photos or photo tips you're fond of? I'd love to know!
Updated from an earlier version.